


Navigate to the Stores ➤ Configurations ➤ Blog, you will get the configurations related to the blog.
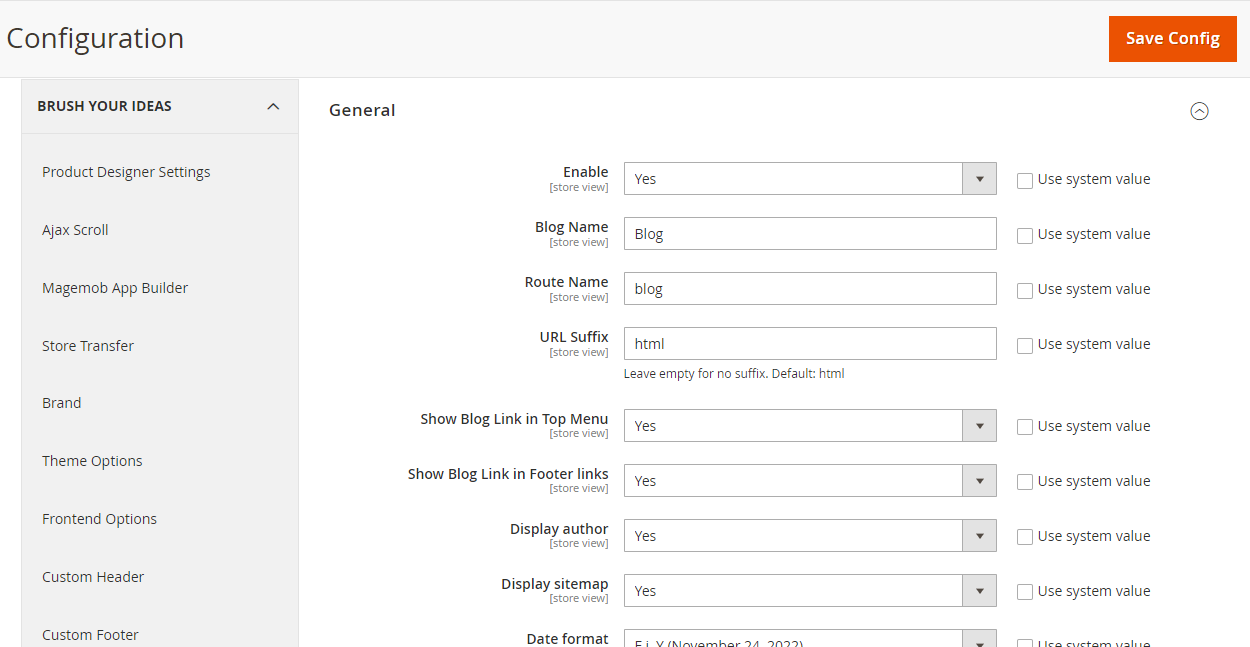
General
Enable: Select Yes to enable the blog extension.
Blog Name: Insert the name for the Blog section.
Route Name: Insert the name you want to display in the URL.
URL Suffix: Insert the suffix for URL. By default it will be “html”.
Show Blog Link in Top Menu: Select Yes if you want to show the Blog link in the top menu.
Show Blog Link in Footer Link: Select Yes if you want to show the blog link in the footer.
Display Author: Select Yes if you want to display the author name in the blog.
Display Sitemap: Select Yes if you want to display the sitemap in the blog.
Date Format: Insert the Date format to be displayed in the blog.
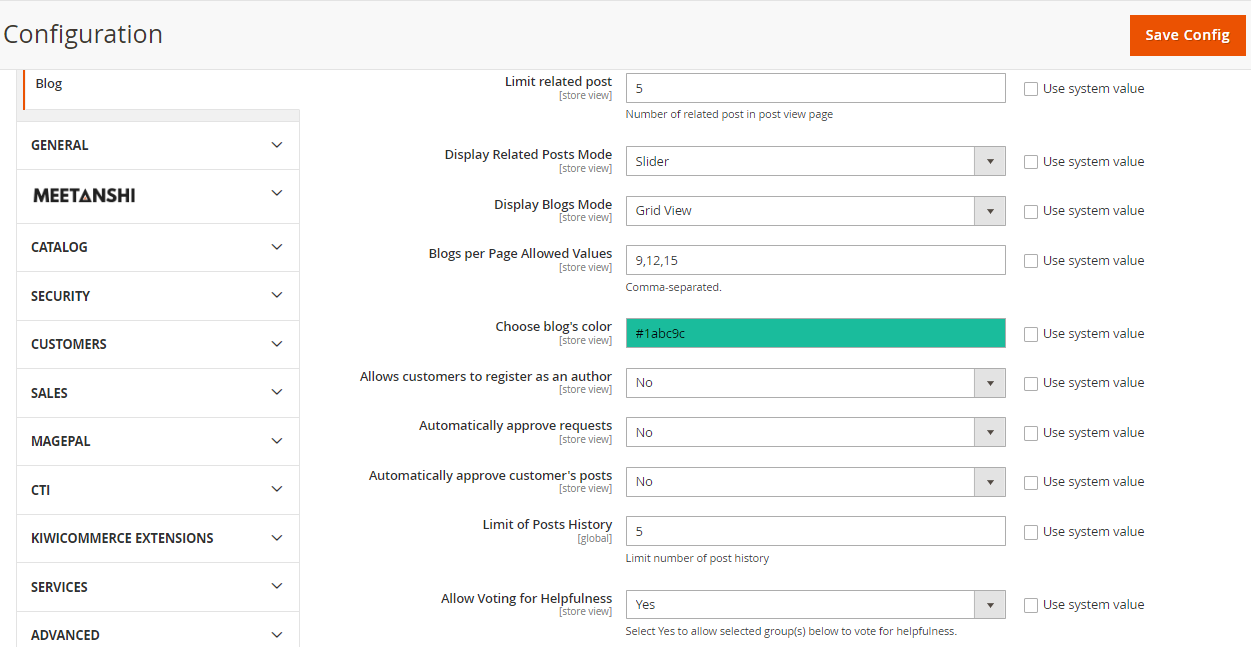
Limit Related Post: Insert the number of blogs to be displayed in the blogpost.
Display Related Posts Mode: Select the mode of display for the related post.
Display Blogs Mode: Select the mode of display for the blogs.
Blogs Per Page Allowed Values: Insert the number of blogs you want to allow per page.
Choose Blog’s Color: Select the color for the blog from the color picker.
Allow Customers to register as an Author: Select Yes if you want to allow your customers to be registered as an Author.
Automatically Approve Request: Select Yes if you want to automatically approve the request for the blogpost.
Automatically Approve Customer’s Post: Select Yes if you want your customers post to be approved automatically.
Limit of Posts History: Insert the number to keep a limitation for the post history.
Allow Voting for Helpfulness: Select Yes if you want to allow the voting by the customers for helpfulness.
Restrict Rating for: Select the group of customers that you want to restrict rating for.
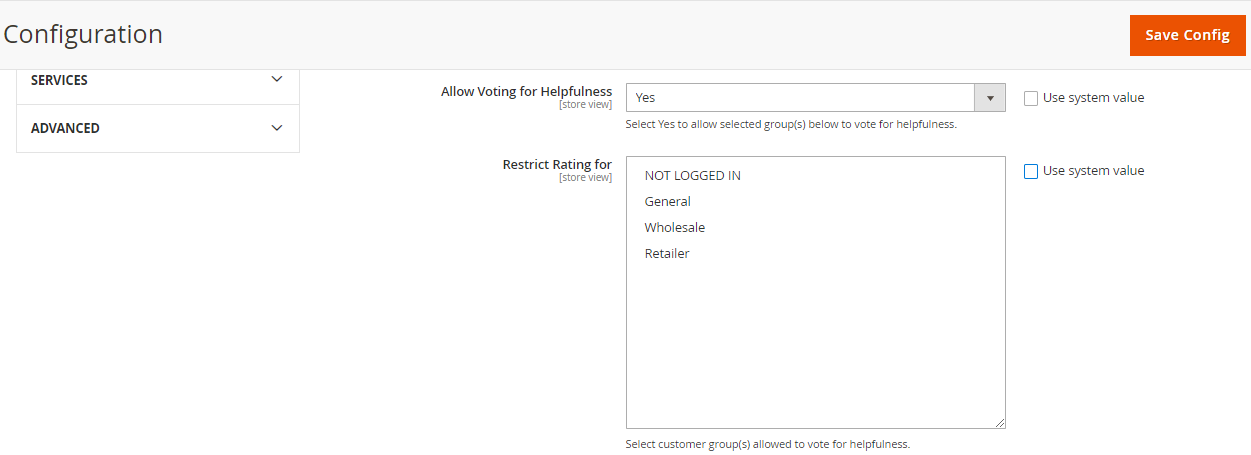
After all the configuration, Save the configurations.


