


If you have a range of products then it becomes easier to manage it by creating categories.
Login to Backend
Navigate to the Catalog ➤ Categories and on the left side you can see the already created categories. insert the following details to add the category.
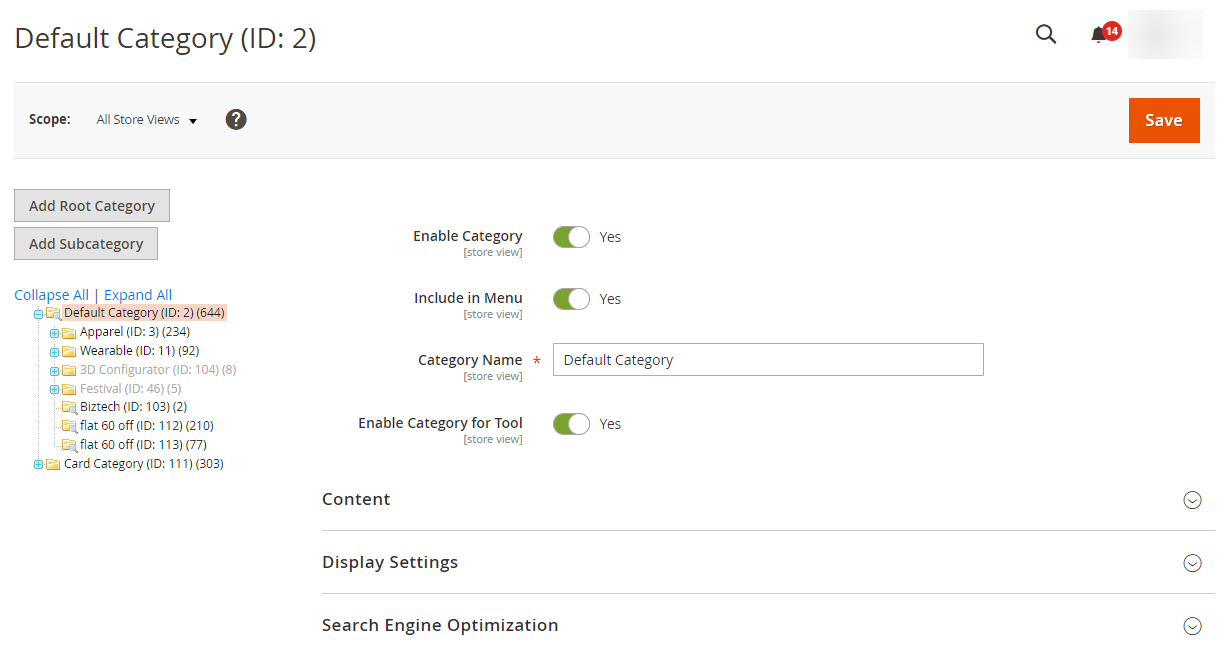
Enable Category: Switch to “Yes” to enable the category.
Include in Menu: Switch to “Yes” to include it in Menu.
Category Name: Insert the name of the category.
Enable Category for Tool: Switch to “Yes” to enable the category for the tool.
Content
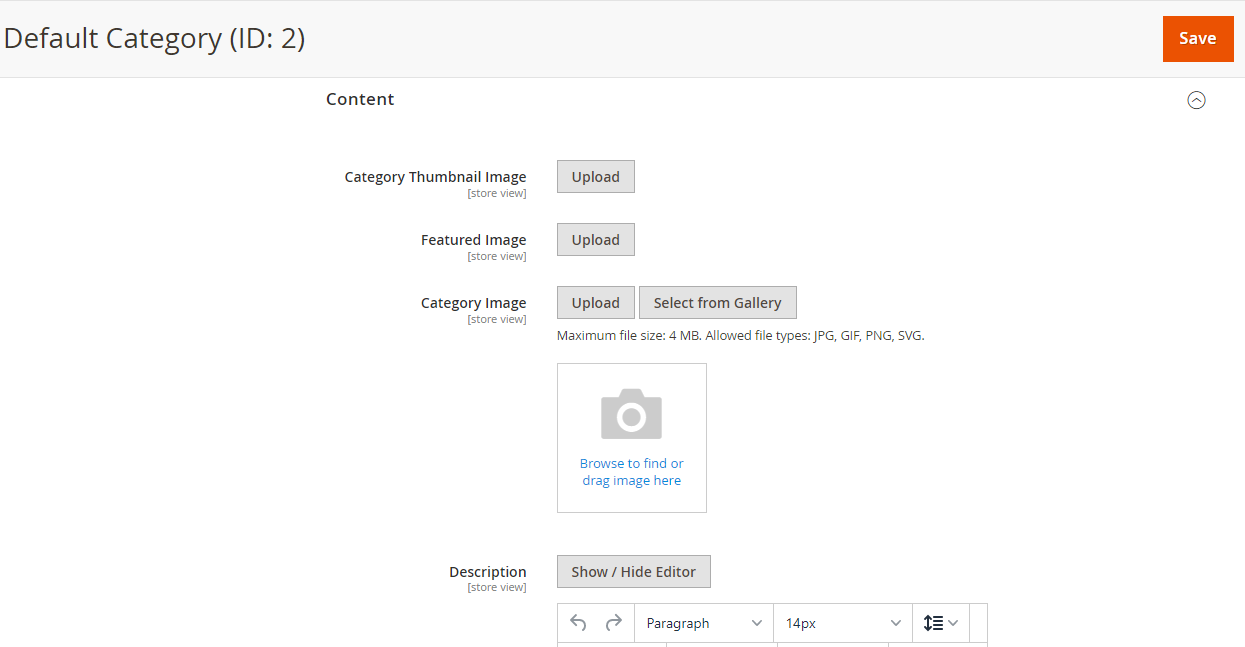
Category Thumbnail Image: Upload the Category Thumbnail Image.
Featured Image: Upload the featured image.
Category Image: Upload the image to be displayed as category image.
Description: Insert the content for the category.
Add CMS Block: Select the CMS block for the category.
Display Settings
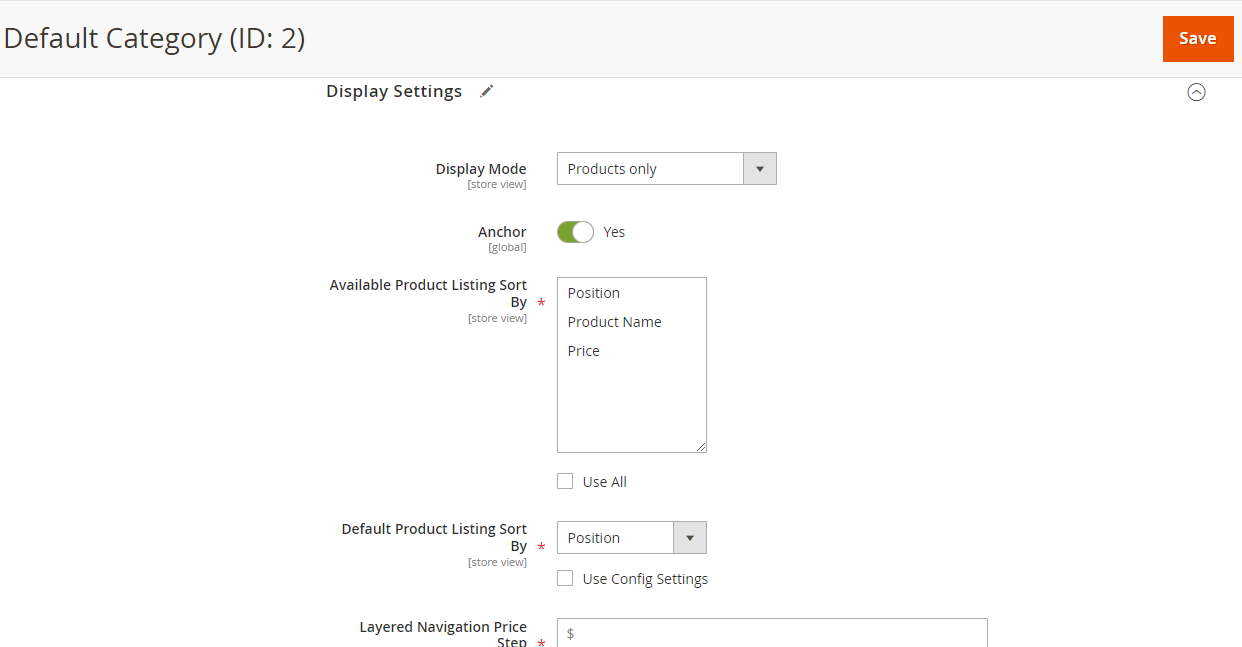
Display Mode: Select the mode of display for the category.
Anchor: Switch to “Yes” if you want to make it a anchored category.
Available Product Listing Sort By: Make the selection of how you want to sort the product.
Default Product Listing Sort By: Select the default sorting option.
Search Engine Optimization
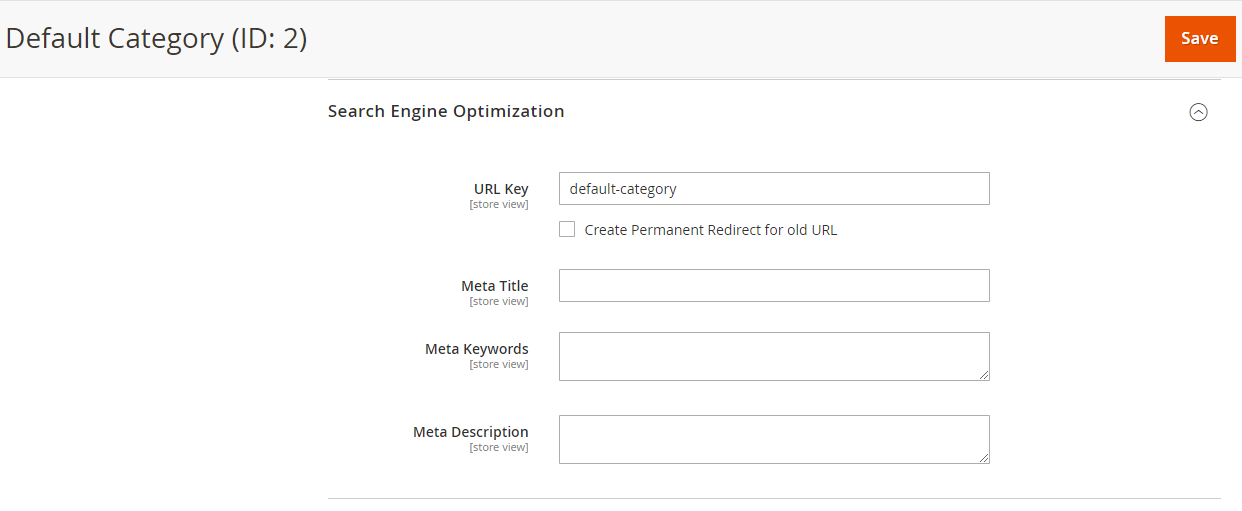
URL Key: Insert the URL Key for the category.
Meta Title: Insert the meta title for the category.
Meta Keywords: Insert the Keyword for the category.
Meta Description: Insert the description for the category.
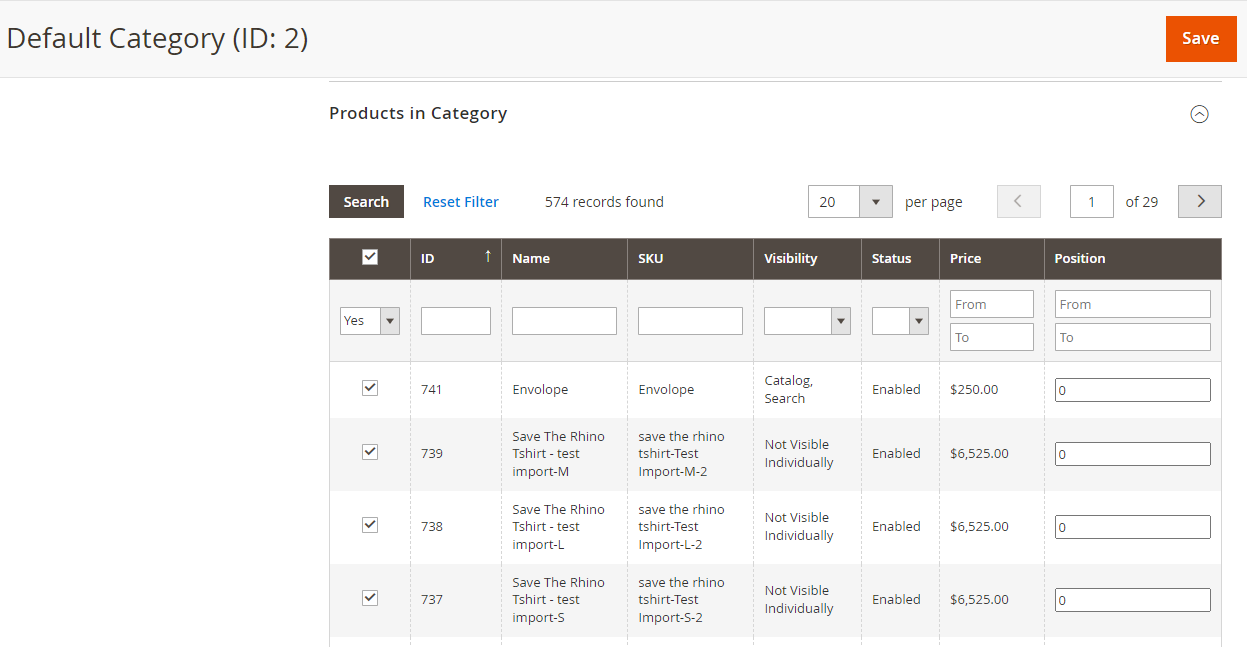
Products in Category: Select the products you want to keep in this category.
Design
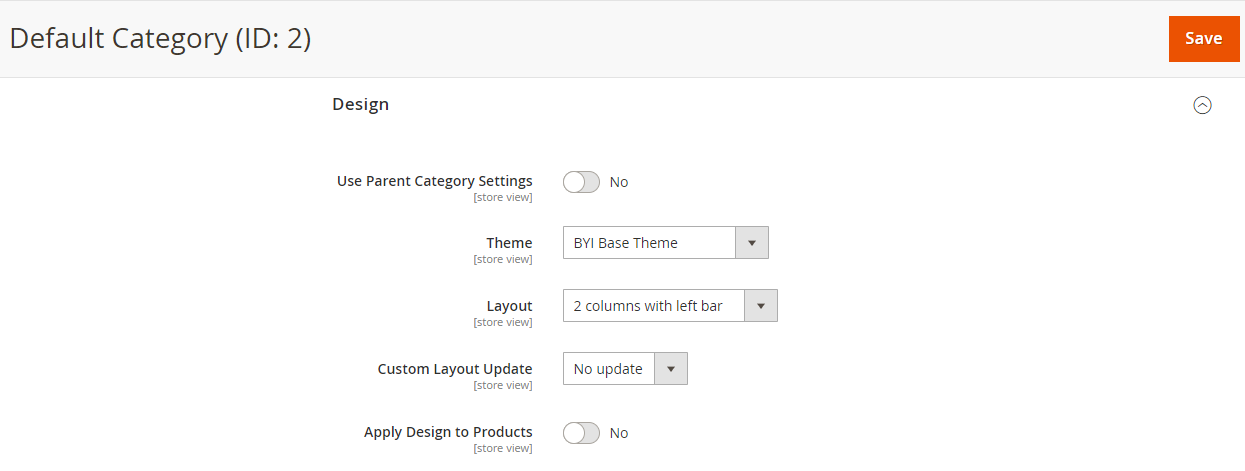
Use Parent Category Settings: Switch to “Yes” if you want to use the Parent Category Setting.
Theme: Select the theme for the category.
Layout: Select the Layout for the category.
Apply Designs to Products: Switch to “Yes” if you want to apply designs to the product.
After inserting all the information click on the Save button.


