CUSTOM FONT MANAGER
If you have purchased the PrintXpand 3.0 Addon for the “Fonts”, you can Add / Edit / Delete the Fonts as per your requirement. As an Add-on, you can add custom fonts to your product designer font library. You also get the best performing 900+ google fonts to make your e-store full of text options.
Manage Font
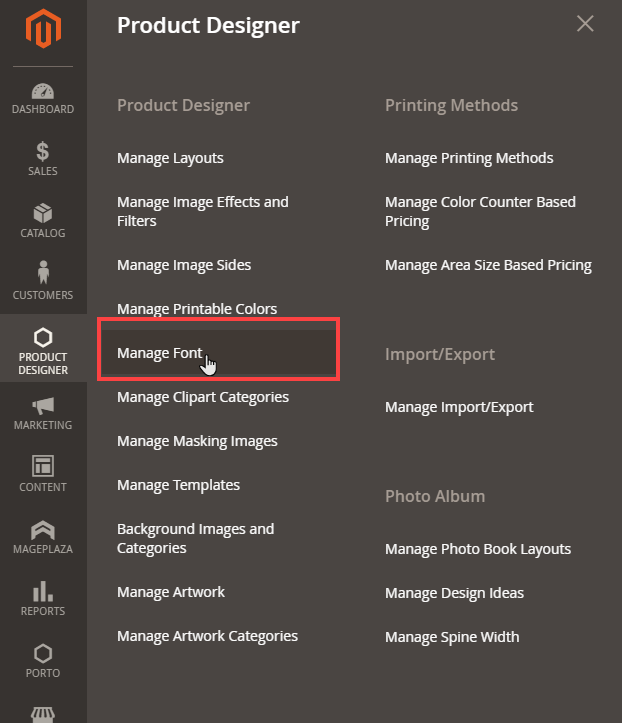
First, you must add and manage the different font styles to allow the customers to design the product using the text object. For that, go to the Product Designer → Manage Font.
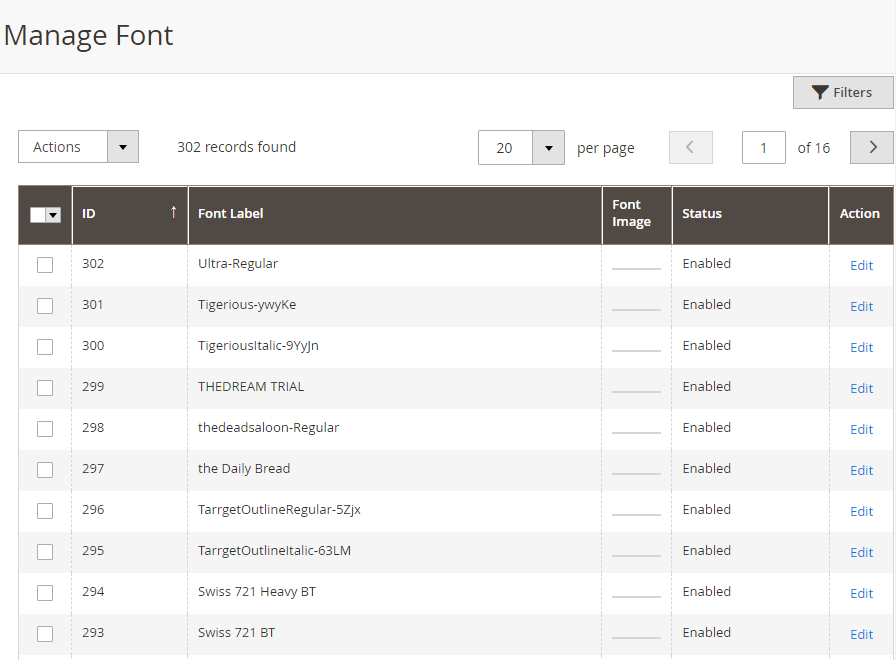
You will navigate to the listing page of the Fonts. You will see the Font details like Id, Font Label, Font Image (if available), Status, and Actions.
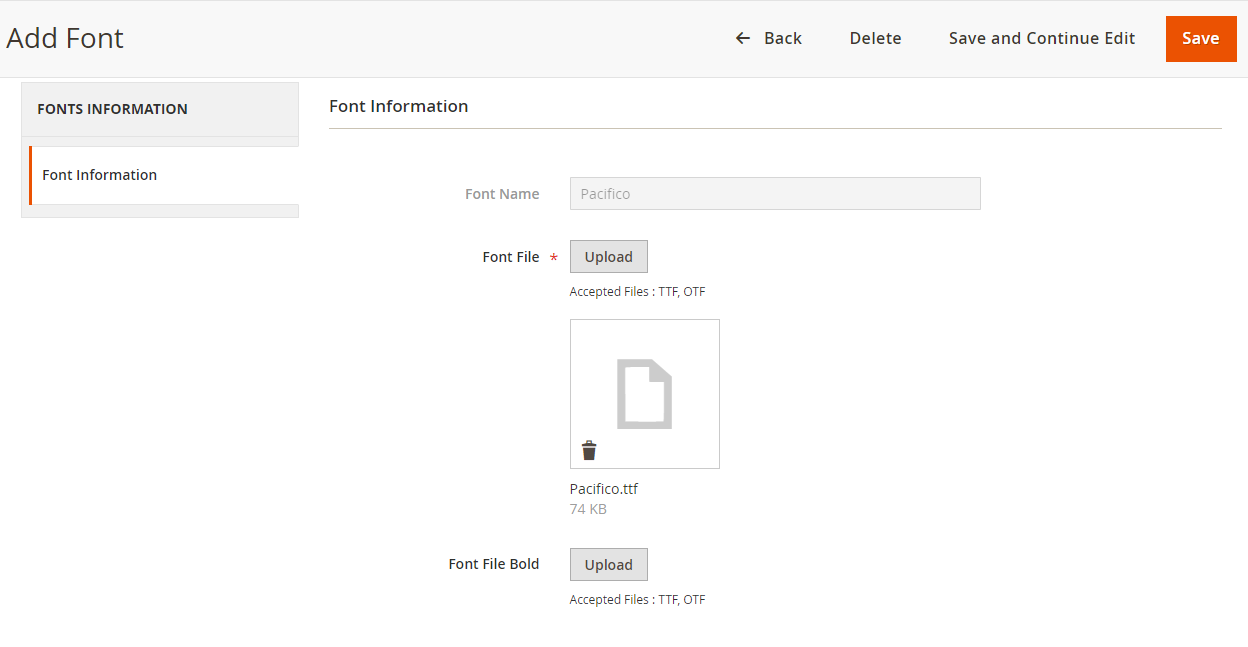
Now, you must add the following details:
– Font Name: Here the name of the font will be displayed from the uploaded font file.
– Font File: Upload the font file
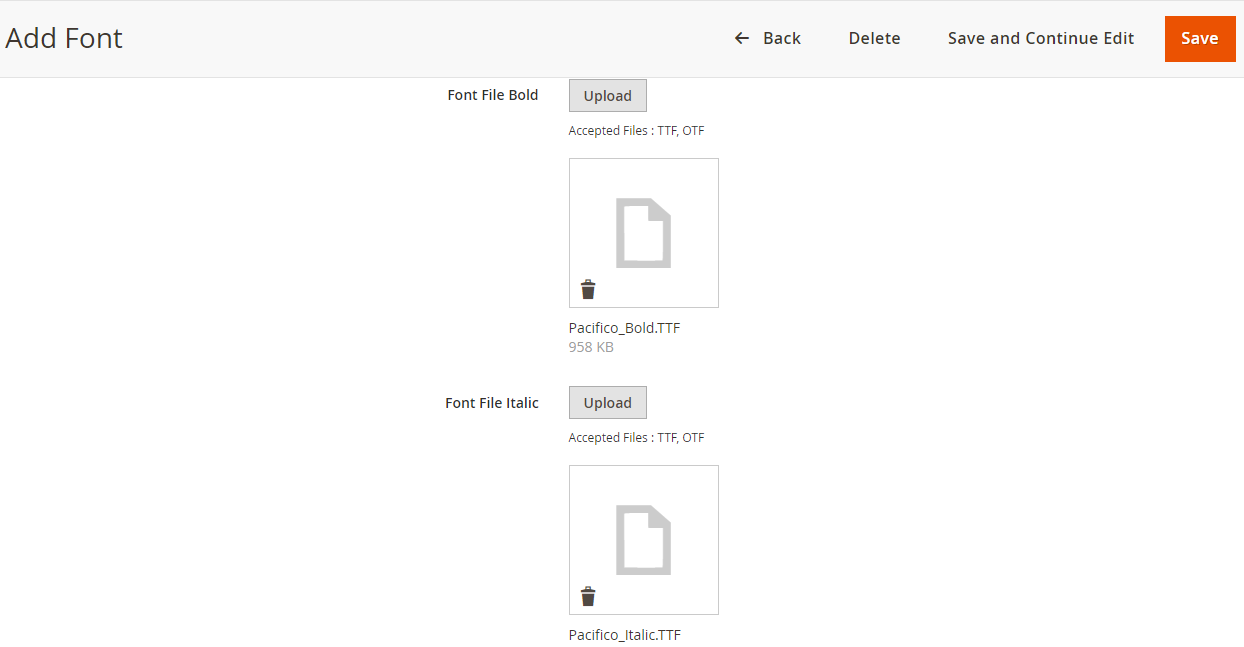
– Font File Bold: Upload the font file with the Bold styling.
– Font File Italic: Upload the font file with the Italic styling.
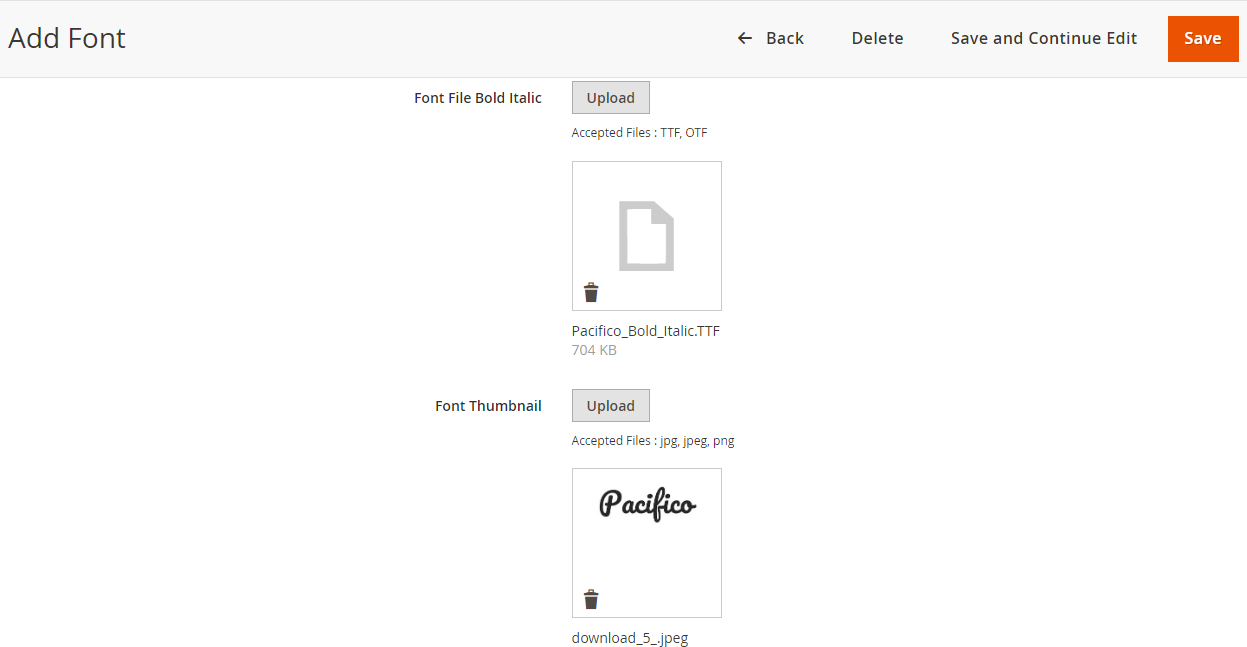
– Font File Bold Italic: Upload the font file with the Bold & Italic Styling.
– Font Thumbnail: Upload the image to be shown as a thumbnail.
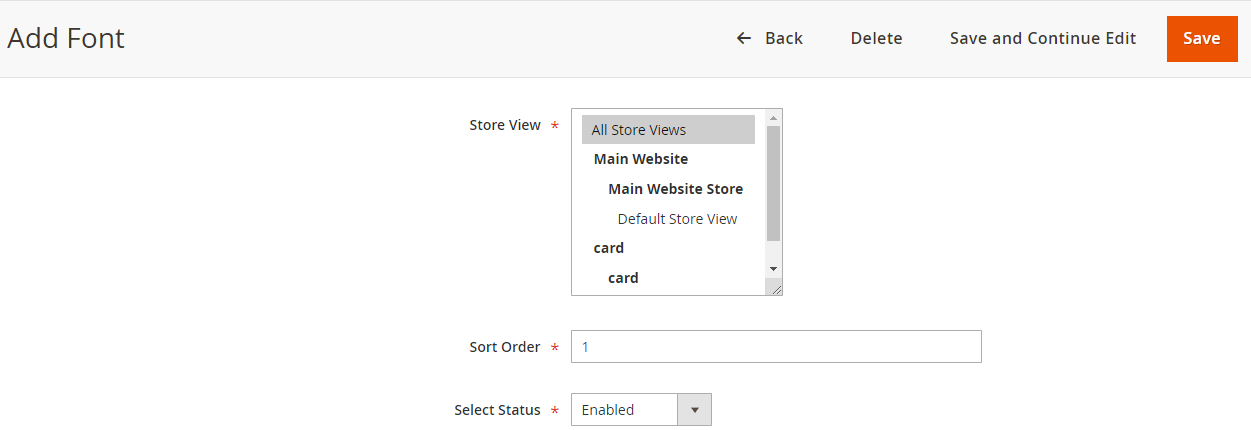
– Store Views: Select the store views in which you want to add this font.
– Sort Order: Insert the number on which you want to display this font on the front end.
– Select Status: You can Enable or Disable the font from here.
After adding the details for the font, click on the Save button.
Note:
– If you have uploaded the above files then only you will get the output of fonts in the different stylings else you will get it in the simple form.
– Also, if Bold and Italic files are not uploaded then the Bold & Italic functionality on the product designer tool will be disabled.
The new font will be listed. Here, if you have added the Font’s thumbnail image for the Font, you will see the image in the “Font Image” column you can edit any font just by clicking on the “Edit” text caption from the ‘Action’ column.
Frontend View
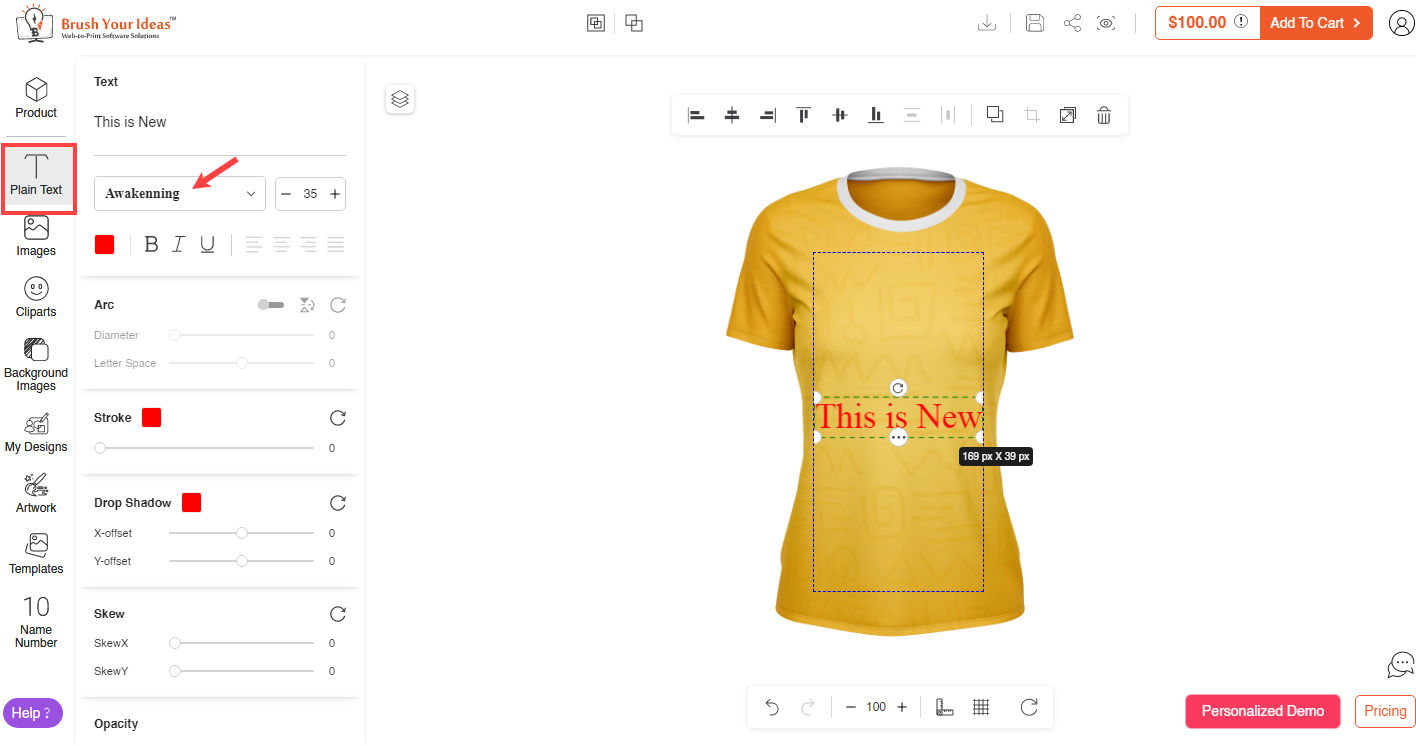
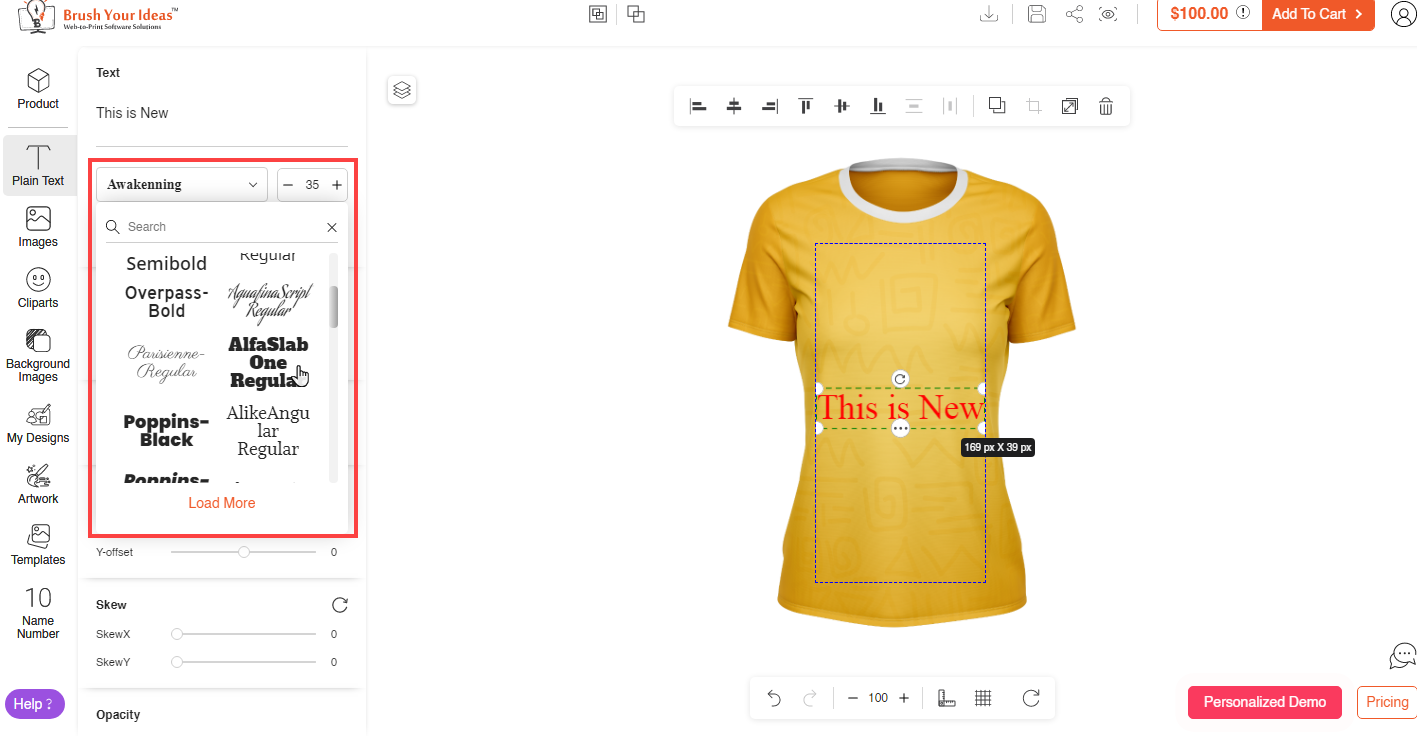
After managing the Font and configuring the default settings from the backend configuration, the customers will get the Text options to add to design the products. The customers can add the text objects by clicking on the Plain Text tab from the “Designing Explorer” panel.
The customers can insert the text which they want to add to the product design. When the customers insert a text, they will see the text object as per the default settings from the “Text Configurations” at the store level.
Select another Font Style
The customers can select the desired font style from the pre-loaded “Font Style” selection. The customers will get the “Font Style” as they have added.
The customers can also search for the specific font style by inserting the text label.
Note: With Custom Fonts- Addon, the store owners will get a total of 900+ different Fonts among that 700+ will be the best performing Google Fonts while 300+ will be the pre-loaded fonts. The store owner will also add any other custom fonts, too.
